
티스토리 뷰
분명 어디선가 본 것 같은데... 예시를 못 찾겠다ㅜㅜ
상세페이지에 해당 상품의 후기가 10개 정도 올라와 있고, 이 후기 중에 원하는 후기 하나를 누르면 후기 전체 페이지에서 클릭한 후기로 자동 스크롤되고 반짝이며 포커싱 되는 기능이다.
물론 구현을 위해서는 백엔드 쪽에서 데이터에 해당 후기의 고유번호를 넣어주어야 한다.
간단히 필수적인 기능들만 들어간 페이지 두 개로 실습해보자.
데이터는 목데이터로 단순하게 넣을 것이다.
참고로 기능만 집중적으로 살펴 볼 예정이기 때문에 전체 파일의 코드를 언급하지는 않으려고 한다.
혹시나 필요하신 분이 계시면 댓글 달아주세요... 깃허브에 올리겠습니다...
기본 세팅은 아래와 같다.
pages > review > index.js
리뷰를 10개만 보여주는 미리보기 페이지
import dynamic from 'next/dynamic';
import React from 'react';

const ReviewIndex = dynamic(() => import('../../feature/review/ReviewIndex'), { ssr: false });

function ReviewPageIndex() {
    return <ReviewIndex />;
}

export default ReviewPageIndex;
pages > detail > index.js
리뷰를 전체 다 보여주는 페이지. 미리보기 페이지에서 리뷰를 누르면 넘어간다.
import dynamic from 'next/dynamic';
import React from 'react';

const DetailIndex = dynamic(() => import('../../feature/detail/DetailIndex'), { ssr: false });

function DetailPageIndex() {
  return <DetailIndex />;
}

export default DetailPageIndex;
feature > review > ReviewIndex.js
리뷰페이지 기본 기능 파일
import styled from "styled-components";
import ReviewData from "./components/ReviewData";
import ReviewPiece from "./components/ReviewPiece";

const ReviewIndex = () => {
  return (
    <ReviewContainer>
      <h1>Review Page</h1>
      {ReviewData.slice(0, 10).map((e, index) => {
        return <ReviewPiece key={index} author={e.author} title={e.title} contents={e.content} />
      })}
    </ReviewContainer>
  );
};

export default ReviewIndex;

const ReviewContainer = styled.div`
  width: 600px;
  margin: 50px auto;
`
feature > detail > DetailIndex.js
디테일페이지 기본 기능 파일
import styled from "styled-components";
import ReviewData from "../review/components/ReviewData";
import ReviewPiece from "../review/components/ReviewPiece";

const DetailIndex = () => {
    return (
        <DetailContainer>
            <h1>Detail Page</h1>
            {ReviewData.map((e, index) => {
                return <ReviewPiece key={index} author={e.author} title={e.title} contents={e.content} />
            })}
        </DetailContainer>
    );
};

export default DetailIndex;

const DetailContainer = styled.div`
    width: 600px;
    margin: 50px auto;
`
feature > review > components > ReviewData.js
리뷰 목데이터
const ReviewData = [
    {
        author: 'aaa',
        title: "첫번째 댓글입니다.",
        content: "첫번째 댓글의 내용 입니다.",
        no: 100
    },
    {
        author: 'bbb',
        title: "두번째 댓글입니다.",
        content: "두번째 댓글의 내용 입니다.",
        no: 200
    },
    {
        author: 'ccc',
        title: "세번째 댓글입니다.",
        content: "세번째 댓글의 내용 입니다.",
        no: 300
    },
    {
        author: 'ddd',
        title: "네번째 댓글입니다.",
        content: "네번째 댓글의 내용 입니다.",
        no: 400
    },
    {
        author: 'eee',
        title: "다섯번째 댓글입니다.",
        content: "다섯번째 댓글의 내용 입니다.",
        no: 500
    },
    {
        author: 'fff',
        title: "여섯번째 댓글입니다.",
        content: "여섯번째 댓글의 내용 입니다.",
        no: 600
    },
    {
        author: 'ggg',
        title: "일곱번째 댓글입니다.",
        content: "일곱번째 댓글의 내용 입니다.",
        no: 700
    },
    {
        author: 'hhh',
        title: "여덟번째 댓글입니다.",
        content: "여덟번째 댓글의 내용 입니다.",
        no: 800
    },
    {
        author: 'iii',
        title: "아홉번째 댓글입니다.",
        content: "아홉번째 댓글의 내용 입니다.",
        no: 900
    },
    {
        author: 'jjj',
        title: "열번째 댓글입니다.",
        content: "열번째 댓글의 내용 입니다.",
        no: 1000
    },
    {
        author: '22aaa',
        title: "첫번째 댓글입니다.",
        content: "첫번째 댓글의 내용 입니다.",
        no: 10000
    },
    {
        author: '22bbb',
        title: "두번째 댓글입니다.",
        content: "두번째 댓글의 내용 입니다.",
        no: 20000
    },
    {
        author: '22ccc',
        title: "세번째 댓글입니다.",
        content: "세번째 댓글의 내용 입니다.",
        no: 30000
    },
    {
        author: '22ddd',
        title: "네번째 댓글입니다.",
        content: "네번째 댓글의 내용 입니다.",
        no: 40000
    },
    {
        author: '22eee',
        title: "다섯번째 댓글입니다.",
        content: "다섯번째 댓글의 내용 입니다.",
        no: 50000
    },
    {
        author: '22fff',
        title: "여섯번째 댓글입니다.",
        content: "여섯번째 댓글의 내용 입니다.",
        no: 60000
    },
    {
        author: '22ggg',
        title: "일곱번째 댓글입니다.",
        content: "일곱번째 댓글의 내용 입니다.",
        no: 70000
    },
    {
        author: '22hhh',
        title: "여덟번째 댓글입니다.",
        content: "여덟번째 댓글의 내용 입니다.",
        no: 80000
    },
    {
        author: '22iii',
        title: "아홉번째 댓글입니다.",
        content: "아홉번째 댓글의 내용 입니다.",
        no: 90000
    },
    {
        author: '22jjj',
        title: "열번째 댓글입니다.",
        content: "열번째 댓글의 내용 입니다.",
        no: 100000
    },
]

export default ReviewData;
feature > review > components > ReviewPiece.js
리뷰 한 조각조각 컴포넌트
import styled from 'styled-components';
function ReviewPiece({ author, title, contents }) {
return (
<Container>
<span>글쓴이: {`${author}`}</span>
<h3>{`${title}`}</h3>
<p>{`${contents}`}</p>
</Container>
);
}
export default ReviewPiece;
const Container = styled.div`
padding-top: 15px;
width: 100%;
border-bottom: 1px solid #262626;
&:hover {
background: lightsalmon;
}
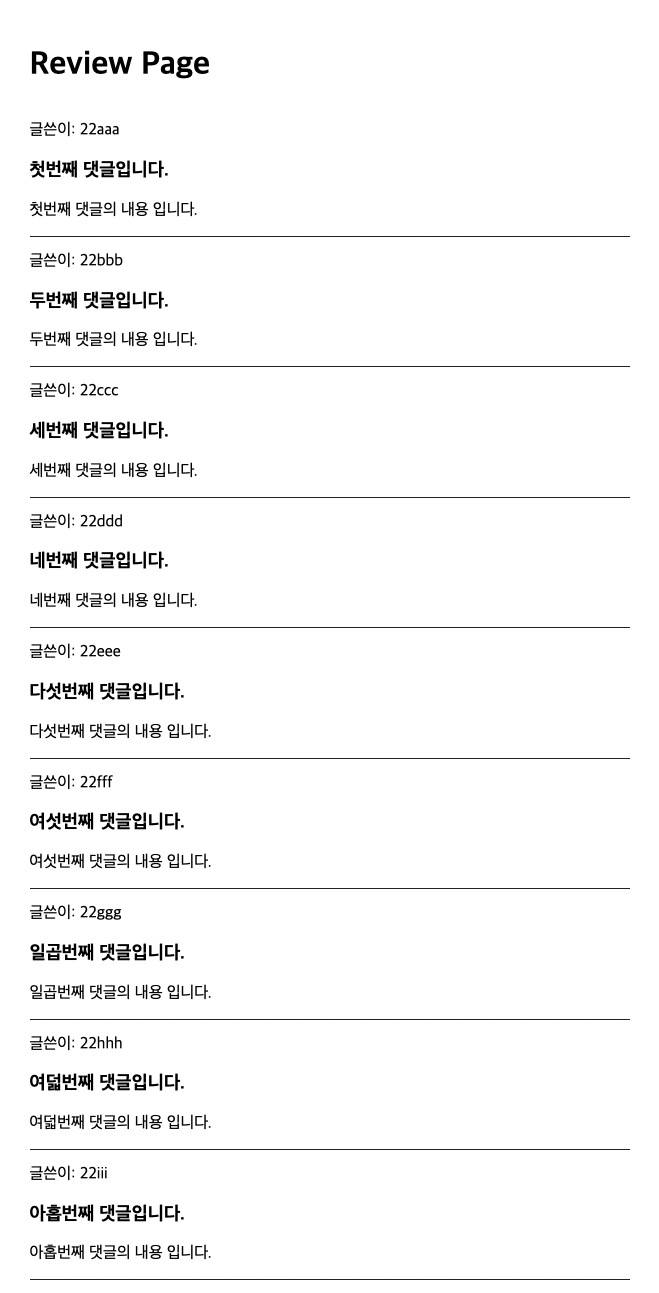
`;이렇게 세팅을 하면 아래와 같은 화면이 localhost:3000/review와 /detail 모두에 나타나야 한다.
review 페이지의 데이터는 20개 중에 10개만 미리보기 형식으로 보여지게 했고 detail은 전부가 다 나와야 한다.
클릭한 댓글을 좀 더 명확하게 하기 위해 마우스 오버 효과를 넣었다.
우선 특정 인덱스로의 스크롤은 어떻게 구현할까?
이는 특정 인덱스의 id값을 받아와 이동하면 되는데, 예를 들어 아래와 같이 구현한다.
window.scrollTo({ top: document.getElementById(`${타겟의 아이디}`).offsetTop, behavior: 'smooth' });그런데 우리가 구현하고자 하는것은 한 페이지에서 버튼을 눌렀을 때 이동하는 것이 아니기 때문에 이전 url 쿼리를 받아와서 타겟의 아이디 부분에 넣어주어야 한다.
이는 클릭이벤트에 따른 라우팅이기 때문에 ReviewPiece에 관련 함수를 생성해주도록 하자.
import styled from 'styled-components';
import { useRouter } from 'next/router';

// 고유번호를 전달하는 no 매개변수를 넣어줌
function ReviewPiece({ author, title, contents, no }) {
  const router = useRouter();
  const handleDetailRouter = () => {
    router.push({ pathname: "/detail", query: { no: no } });
  }
  return (
  // 이후에 id로 스크롤 구현을 해야하기 때문에 꼭 넣어주자
    <Container id={no} onClick={handleDetailRouter}>
      <span>글쓴이: {`${author}`}</span>
      <h3>{`${title}`}</h3>
      <p>{`${contents}`}</p>
    </Container>
  );
}

export default ReviewPiece;
그리고 no(고유번호)를 전달해주기 위해 ReviewIndex도 수정해주자
const ReviewIndex = () => {
// ReviewIndex 뿐 아니라 DetailIndex에도 no 매개변수를 넣어주자
return (
<ReviewContainer>
<h1>Review Page</h1>
{ReviewData?.slice(0, 10).map((e, index) => {
return <ReviewPiece key={index} no={e.no} author={e.author} title={e.title} contents={e.content} />
})}
</ReviewContainer>
);
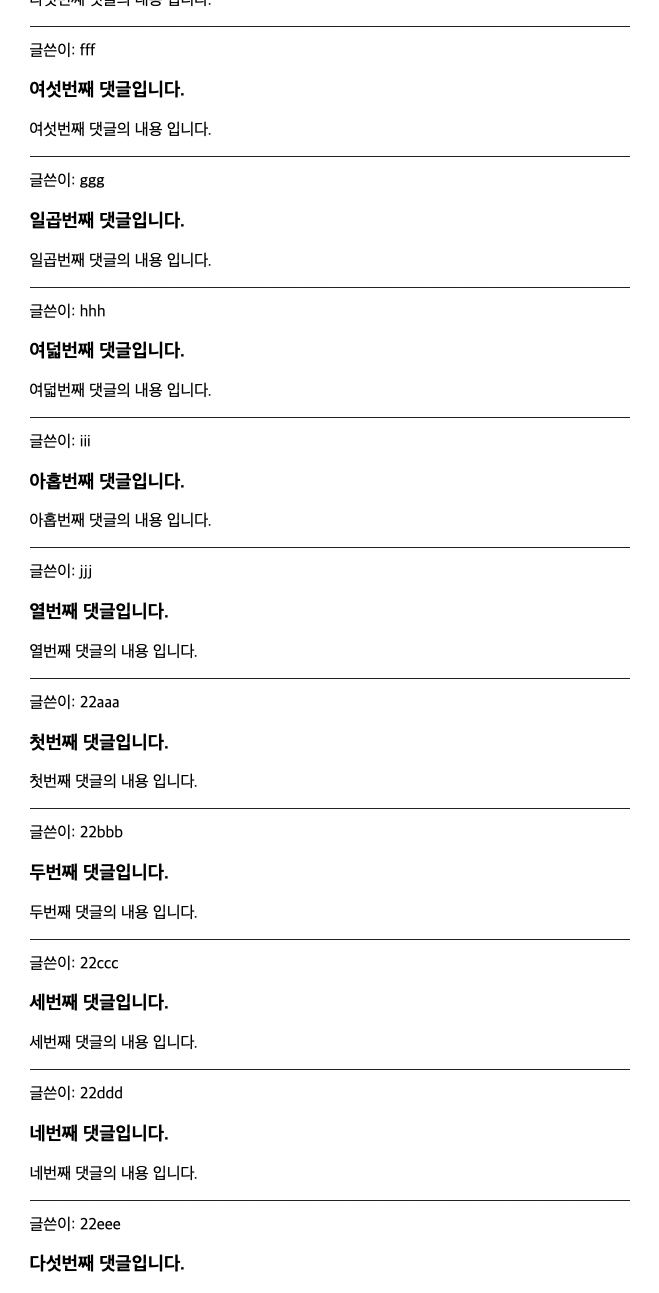
};이렇게 수정하면 아래와 같은 결과가 나와야한다.
review 페이지에서 특정 후기를 클릭하면 detail 페이지 url의 param에 no가 전달돼야한다.

이제 이 전달 된 파라미터와 같은 id값을 가진 ReviewPiece 컴포넌트를 타겟으로 스크롤을 구현하면 된다.
DetailIndex.js
import styled from "styled-components";
import ReviewData from "../review/components/ReviewData";
import ReviewPiece from "../review/components/ReviewPiece";
import { useRouter } from 'next/router';

const DetailIndex = () => {
    const { query } = useRouter();
    // query를 받아오는 것에 대한 지연을 생각해서 300ms의 타이머를 주고 스크롤을 동작하게 했다.
    setTimeout(() => {
        window.scrollTo({ top: document.getElementById(`${query.no}`)?.offsetTop, behavior: 'smooth' });
    }, 300);
    return (
        <DetailContainer>
            <h1>Detail Page</h1>
            {ReviewData.map((e, index) => {
                return <ReviewPiece key={index} no={e.no} author={e.author} title={e.title} contents={e.content} />
            })}
        </DetailContainer>
    );
};
이제 실행하면 자동으로 타겟으로 내려가게 되는데, 현재 타겟은 화면의 제일 위에 맞춰있지만 만약에 헤더가 있어서 스크롤이 된다고 하더라도 타겟을 가리게 된다면 offsetTop에 헤더 height 만큼의 값을 빼 주면 된다.
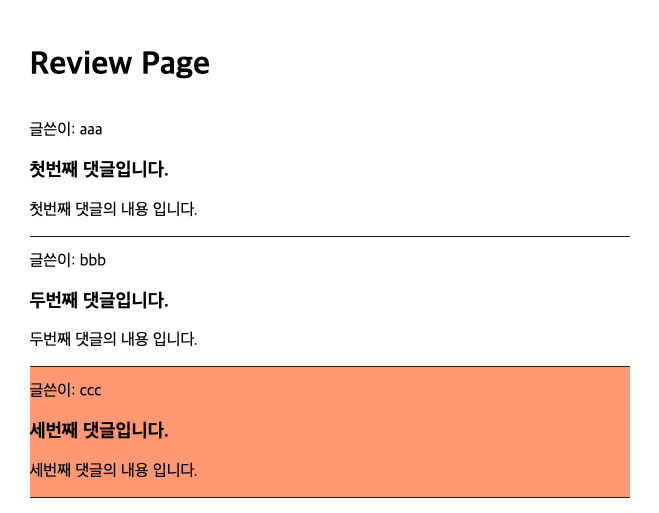
마지막으로 특정 리뷰가 선택되면 살짝 배경화면이 바뀌면서 해당 리뷰가 강조되는 효과를 줘 볼 것이다.
이것은 그냥 선택 된 리뷰에 클래스를 붙이면서 효과를 줄 것이다.
DetailIndex.js
// styled-components에서 keyframes 쓰려면 모듈 임포트를 시켜야 함
import styled, { keyframes } from "styled-components";
import ReviewData from "../review/components/ReviewData";
import ReviewPiece from "../review/components/ReviewPiece";
import { useRouter } from 'next/router';

const DetailIndex = () => {
    const { query } = useRouter();
    // query.no와 같은 아이디를 가진 컴포넌트를 타겟팅한 후 blink라는 클래스를 붙여주기
    setTimeout(() => {
        window.scrollTo({ top: document.getElementById(`${query.no}`)?.offsetTop, behavior: 'smooth' });
        document.getElementById(`${query.no}`)?.classList.add('blink');
    }, 300);
    return (
        <DetailContainer>
            <h1>Detail Page</h1>
            {ReviewData.map((e, index) => {
                return <ReviewPiece key={index} no={e.no} author={e.author} title={e.title} contents={e.content} />
            })}
        </DetailContainer>
    );
};

export default DetailIndex;

const blinkBackground = keyframes`
  0% {
    background: transparent;
  }
  50% {
    background: lightcoral;
  }
  100% {
    background: transparent;
  }
`;

const DetailContainer = styled.div`
    width: 600px;
    margin: 50px auto;
    .blink {
    background: transparent;
    animation: ${blinkBackground} 2s;
  }
`
잘 동작하는 것을 볼 수 있다.
추가 구현 사항
이 부분은 위의 기본적인 코드에서 뭔가 더 괜찮은 기능을 추가하면서 학습하고 싶다면 시도해보면 좋다.
- detail 페이지에도 더보기 버튼을 만들어 전체 리스트가 나오지 않게 하기. 혹은 무한스크롤
- detail 페이지에 리스팅하는 탭을 넣어 새 탭을 클릭할 땐 타겟 애니메이션이 작동하지 않게 하기. 예를 들면 최신순, 이름순 등
- 데이터를 목데이터가 아닌 실제 fetch 해서 사용해보기
'Basic_Studies > React & Next.js' 카테고리의 다른 글
| [Next.js] url에 파라미터 넘기지 않을 때 디폴트 값 설정해주기 (0) | 2022.07.21 |
|---|---|
| [React] svg로 비율 정확한 별점 구현 (0) | 2022.07.13 |
| [Next.js] Dynamic title 만들기 (0) | 2022.01.21 |
| [REACT] beta.react.org 공식 문서 번역 : [퀵스타트] 리액트 배우기 (0) | 2021.12.10 |
| [REACT] beta.react.org 공식 문서 번역 : [퀵스타트] 리액트란? (0) | 2021.12.07 |
- Total
- Today
- Yesterday
- 리액트 컴포넌트
- 자바스크립트
- 리액트 파라미터 넘기기
- NextJS
- 글래스모피즘 애니메이션 구현
- dvd 효과
- 움직이는 글래스모피즘
- 리액트
- 백준 10989 파이썬
- 글래스모피즘 구현
- vscode venv
- bs4 크롤링
- nuxt 공식문서
- nuxt 공식문서 한글
- 파이썬 정렬
- next.js 리다이렉트
- 파이썬 flask
- css marquee
- getserversideprops redirect
- 파이썬 크롤링
- nextjs 스크롤
- 화이팅
- Til
- 리액트 스크롤
- nextjs 파라미터 넘기기
- 카페음료테스트
- 리액트 라우터
- css 글래스모피즘
- 10989 파이썬
- react router
| 일 | 월 | 화 | 수 | 목 | 금 | 토 |
|---|---|---|---|---|---|---|
| 1 | 2 | 3 | 4 | 5 | ||
| 6 | 7 | 8 | 9 | 10 | 11 | 12 |
| 13 | 14 | 15 | 16 | 17 | 18 | 19 |
| 20 | 21 | 22 | 23 | 24 | 25 | 26 |
| 27 | 28 | 29 | 30 |